
 Hrvatski (Hrvatska)
 Layout
InDesign / StoryLink
All of the InDesign functions remain the same, the shortcuts haven’t been changed, nor their functions, and everything you’ve been doing in InDesign so far you can continue doing the same way. StoryLink relies on Indesign and doesn’t change its functionality.
Open StoryLink and log into the system. Select the publication, date and open the page. Publication menu of the publication you want to work in
Date of the Publishing - date of publishing
Project - name of the project (e.g. M1_ 2015_07_25_298). The archived project is labeled with a red notice ‘Project is archived!’
Refresh - refresh all of the menus

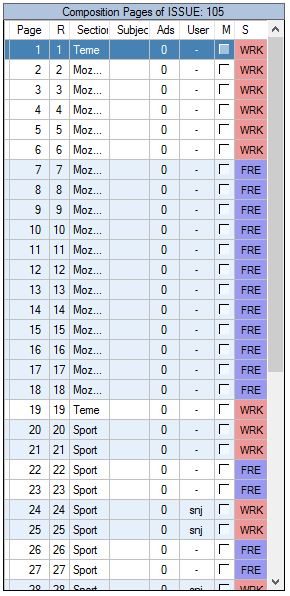
After selecting the project and the edition, the table opens. It contains number of pages, relative number of page (if total number of pages and pagination do not match up), sections, number of ads assigned to the page, code of the user (graphic designer) currently working on the page, mark showing if the photos are sent to the processing and the page status (whether is open, in the work, in the PDF...).
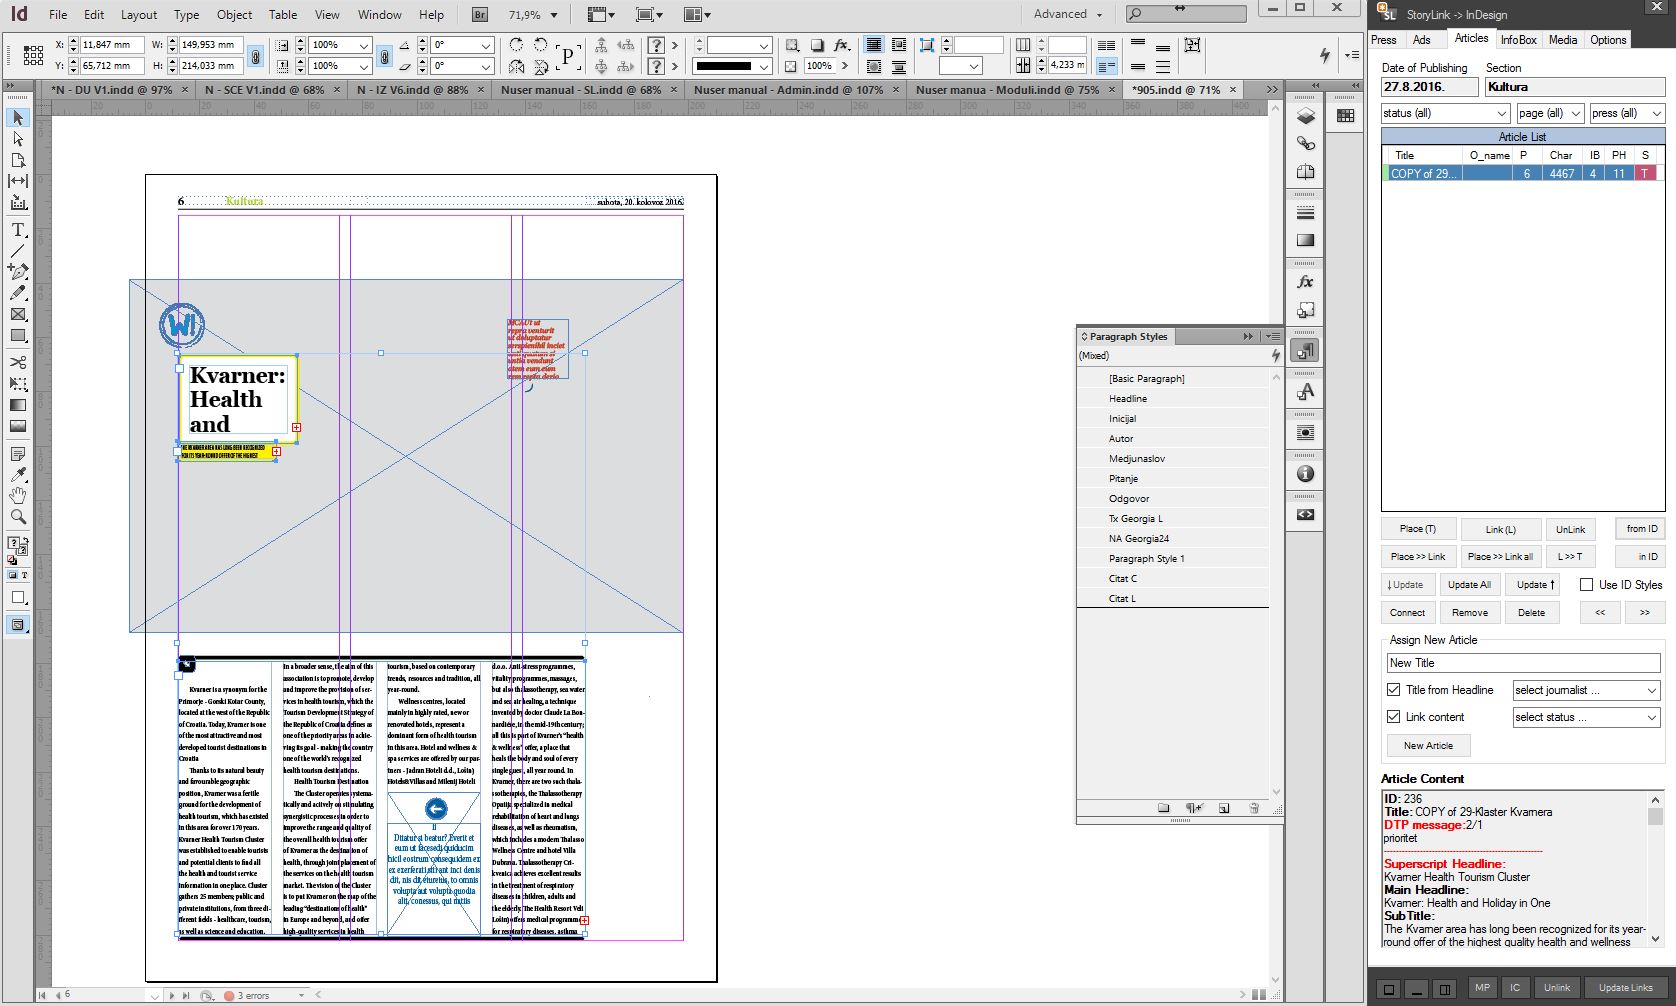
After selecting the edition, select the page you want to work in, and then open the list of articles assigned to the page.
Position all the elements on the page you want to layout (superscript, title, infoboxes....), select only the basic elements that make the article (superscript, title, subtitle, author and then insert the text:
a) Place (T) - only place text on the page
Use this option when you are only preparing the page and the article is not yet completed. The editor, proofreaders, and journalist can still enter the text from StoryEditor, and the graphic designer has all the elements that can be used for the visual preparation of the page. This kind of text will be assigned with the label T on the list of articles, but it will not be merged with the page. It is important to notice that in this phase of work the layouting is not being reworked within the styles and fonts, because it will all be returned to a basic state after linking texts to the page.
b) Link (L) - linking tekst with a page
Use this option when the article is entirely ready for layouting. After linking tekst to the page, it is connected to the page in the database, gets the label L and you can no longer edit it in StoryEditor but only through InCopy. Except the label L in StoryLink, the frames on the page also get the label (padlock) which means that they are linked (and locked) on the page.
Using the same method (select the frames on the page, select the element e.g. the photo with a caption and the author, the related photo in Media module and link it on the page) to place other elements of the article on the page - photos, captions, authors of the photos, infoboxes...


If you want to edit some text in InDesign or InCopy after linking, you need to unlock that frame. To do the unlocking use the shortcut Ctrl+F9 or make it through Window -> Editorial -> Assignments window within which the selected frame is unlocked with the ‘manikin’ icon.

The padlock icon will transform into a pen icon, indicating that nobody can open it except the user who unlocked the frame. If some other user unlocks the frame, the padlock icon will transform into a crossed pen. If you place the cursor over the icon at that moment, it will show the name of the user who is currently editing the frame.
After editing, lock the frame using shortcut Shift+Ctrl+F9 or through Window -> Editorial -> Assignments window.
At corrections or large-scale work on the page, you can unlock all the frames at once.